-
2024 in Books
Last year I wrote about my favourite reads of 2024, it was the start of a new tradition! As we enter 2025, here’s look back at my favourite reads (and listens) of 2024.
These are not in a particular order, nor narrowed down to any specific number. I also set a rule for myself to not include re-reads, or multiple books from a singles series (doing so here would have added a few more to the list, like Octavia Butler’s Parable of the Sower, and Seth Dickinson’s The Monster Baru Cormorant).
Here we go:


Fiction
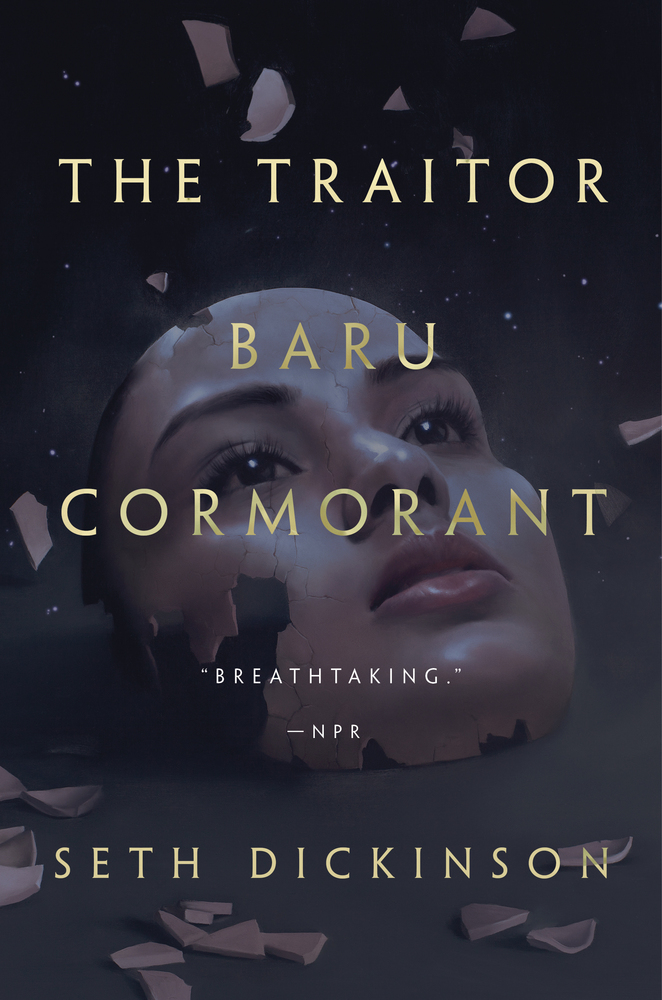
- The Traitor Baru Cormorant by Seth Dickinson
- One of my top 3 this year, I binged this and the sequel, and am currently reading the third – it’s been a while since I’ve been so hooked! How to say something succinct about it? I loved the complex characters and their complex motives. The grey areas. The messy world. The sharp prose. The plot. The ending, oh the ending. Anyone who has read it knows. I was glad to have the sequel close at hand!
This book is categorized as fantasy, but it’s less magical and more political compared to fantasy I’ve typically enjoyed, yet I was gripped. Bonus: an excellent blog post by the author on world building.
- One of my top 3 this year, I binged this and the sequel, and am currently reading the third – it’s been a while since I’ve been so hooked! How to say something succinct about it? I loved the complex characters and their complex motives. The grey areas. The messy world. The sharp prose. The plot. The ending, oh the ending. Anyone who has read it knows. I was glad to have the sequel close at hand!
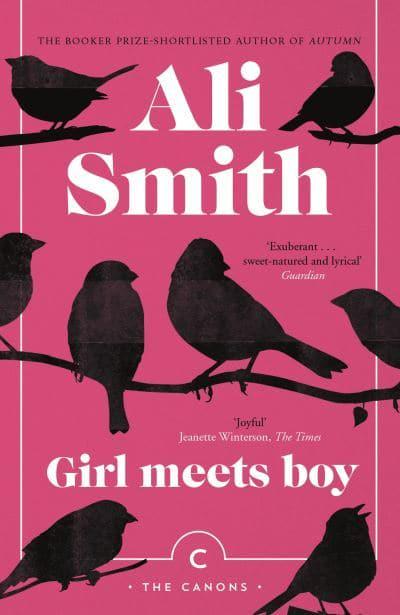
- Girl Meets Boy by Ali Smith
- Short and sweet, read it in two sittings. Really enjoyed this little book by one of my favourite contemporary authors, Ali Smith. In it you can expect: sisters and sibling relationships, a lesbian awakening, retelling of Greek myth, some anarchy, and a parody/critique of corporate culture. And of course, beautiful Ali Smith metaphors!
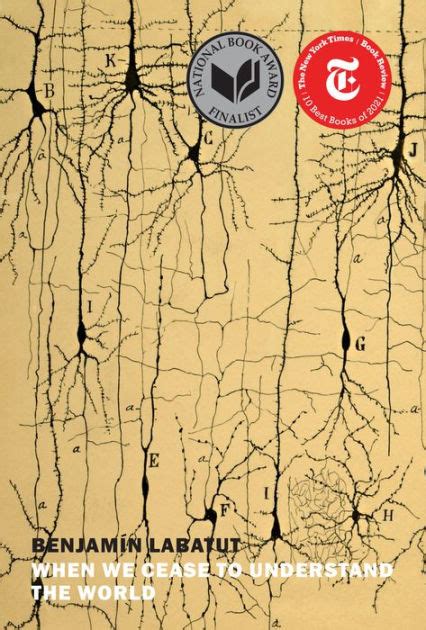
- When We Cease to Understand the World by Benjamin Labatut (translated by Adrian Nathan West)
- This was an odd (but delightful!) book, it’s hard to categorize. Part fictional biography, part truth, but progressively more fictional the deeper into the book you go. It explored the lives of famous physicists, and the ripple effect of their discoveries and actions. The prose was beautiful, and even more impressive is that it’s a translation!
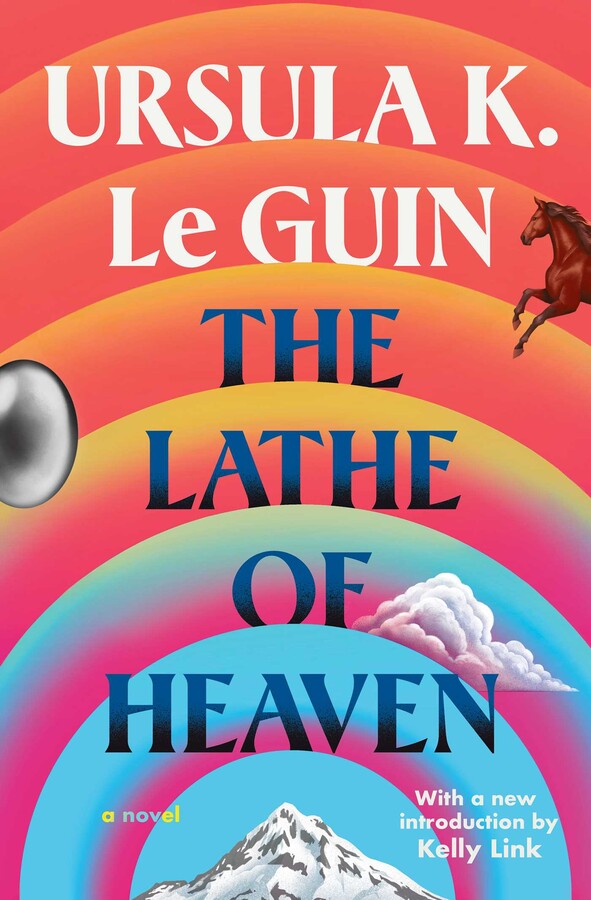
- The Lathe of Heaven by Ursula K. Le Guin
- Another favourite of the year, I read it in a day while travelling. This book follows George Orr, whose dreams alter reality. The book has a small cast, and I enjoyed how their observations of one another revealed so much of their own character. There were three moments on this book where I just had to put it down and stare into the middle distance for a moment, thinking “What have you done?!?!”. Also, the surrealist climax full of dream logic was wild! Ursula, you have never let me down.
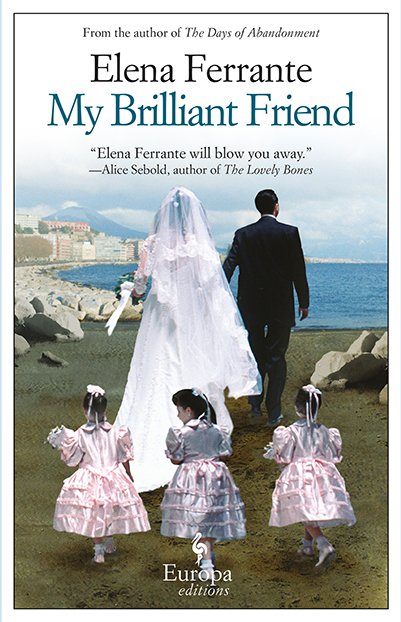
- My Brilliant Friend by Elena Ferrante [audiobook, read by Hilary Huber]
- I’d heard about this book over the years – how could I not? Then after seeing it called “the novel of the century” I caved and loaned the audiobook from the library (excellently narrated!) Now I see why it is so beloved – the world was so rich, so immersive, all the characters felt so real. Ferrante gives a lot of depth to a poor post-war Naples neighbourhood. I’ve now listened to the second and third books as well (waiting on a loan for the fourth), but I’d say I still like the first best for it’s childlike perspective on a complicated time.
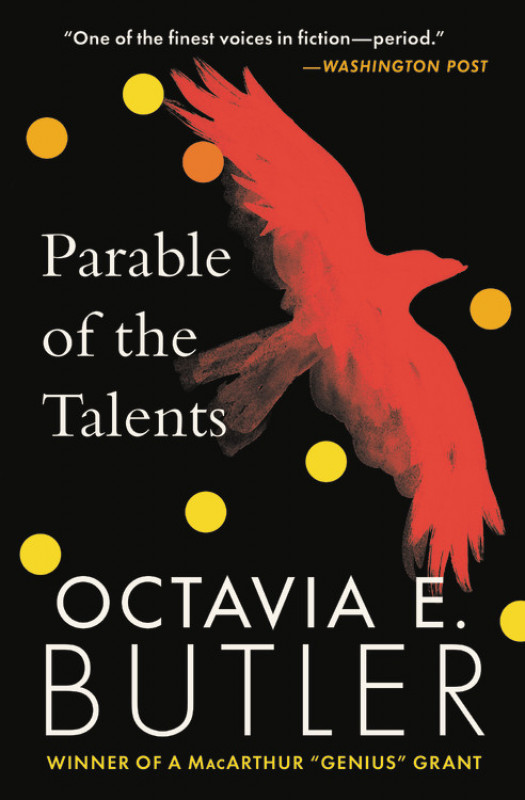
- The Parable of the Talents by Octavia Butler
- Another favourite from this year! Years ago I read the Parable of the Sower (which this is a sequel too) – this summer I reread it and then this for the first time. It was intense, and some sections very bleak. It was hard to watch the victorious ending of the first book be torn down. I really enjoyed how the story was told in layers: it was mostly narrated by one character, but large portions were letters from others, with the story moving across time and giving more interiority to multiple characters (Parable of the Sower was all first person, for comparison). Reading a dystopia set around the same time as the current year was unsettling – there were many things that felt too close to reality!
Non-fiction
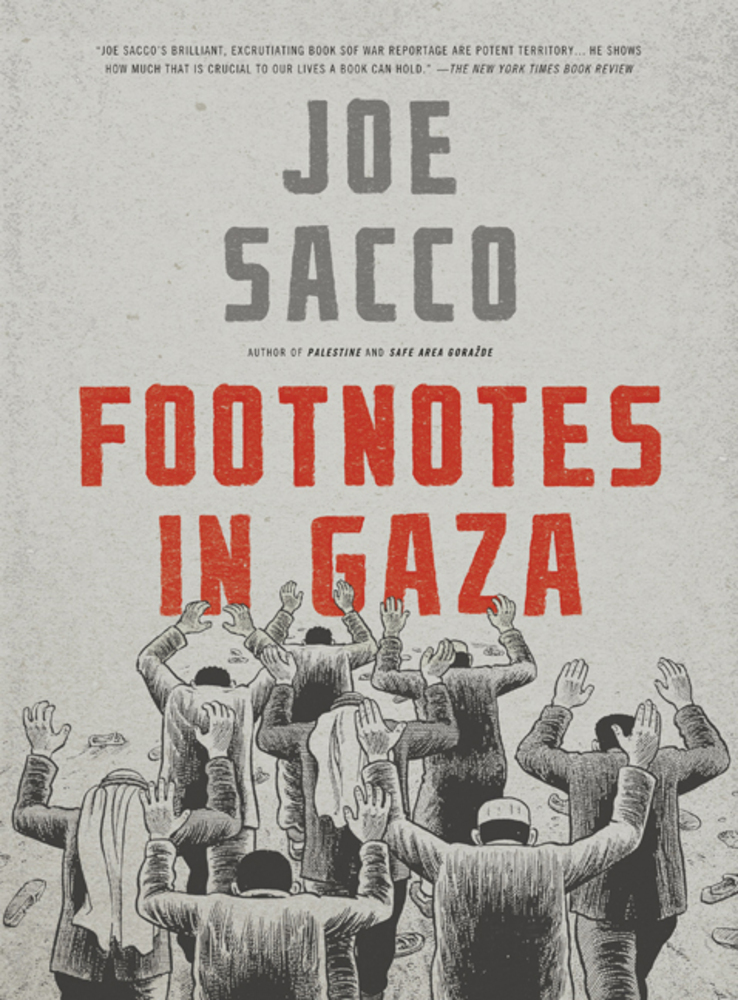
- Footnotes in Gaza by Joe Sacco
- Joe Sacco’s work is always excellent. Unsurprisingly, this was a heavy, heavy read. On pretty much every page I wondered: if this person still alive? Is that building still standing? (Probably not.) One part that I felt was an especially excellent use of the comic medium: the illustrated Joe Sacco addresses the reader directly, explaining how, yes, everything he heard about the events of November 1956 were word of mouth, and how sometimes details conflicted. But how he and those he worked with gathered many stories, compared timelines, and were able to piece together the consistencies into an order of events, which was presented in the following chapter. That chapter was composed of direct quotes from interviewees, their portraits and name (if they consented) always displayed when their quotes began. A single spread could have many people’s stories, sharing their horrible but unified experience. It’s hard to effectively explain, but it was very moving, a mosaic of stories, each person telling a small piece creating a unified picture of massacre.
- An Immense World: How Animal Senses Reveal the Hidden Realms Around Us by Ed Yong
- This one is basically a long stream of animal facts, so naturally I loved it. More animal trivia for my back pocket! The science behind it could be dense at times, but I found Ed Yong’s writing great at breaking it down for the non-scientists like me. I also really enjoyed how the chapters were broken up by sense type. My favourite sections: on whales and sound, and bats use of echolocation (the precision of echolocation is amazing!)
- Cobalt Red: How the Blood of the Congo Powers Our Lives by Siddharth Kara [audiobook, read by Peter Ganim]
- Another heavy, heavy book, where Siddharth Kara, an author and investigative journalist looks at how there is no ethical source of cobalt, a key component of rechargeable batteries. I think this is a book everyone should read or listen to, since the demand for rechargeable cars, phones, and just about anything continues to increase. A quote I still think of often, nearly a year later:
“Now you understand how people like us work?”
“I believe so.”
“Tell me.”
“You work in horrible conditions and—”
“No! We work in our graves.”
- Another heavy, heavy book, where Siddharth Kara, an author and investigative journalist looks at how there is no ethical source of cobalt, a key component of rechargeable batteries. I think this is a book everyone should read or listen to, since the demand for rechargeable cars, phones, and just about anything continues to increase. A quote I still think of often, nearly a year later:
Memoir
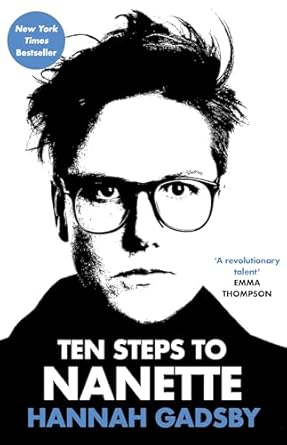
- Ten Steps to Nanette: A Memoir Situation by Hannah Gadsby [audiobook, read by author]
- This was excellent, and I highly recommend the audio version. In some ways, it was exactly what I expected: both intensely funny and emotional. Listening to their life story and events that lead up to their big success was moving, especially the anecdotes about their relationship with their mom (okay, yes, I cried near the end at a specific moment between them). Also, an unexpected side-effect: now anytime I peel a carrot I think of Hannah Gadsby’s dad.
- The Secret to Superhuman Strength by Alison Bechdel
- In 2023 I read a lot of graphics novels, this year I didn’t read as many, but I did read (or reread) everything by Alison Bechdel! This latest book was a lovely balancing act between personal anecdotes and biographies of literary figures. Really enjoyed the philosophical and reflective tone.
Tags:
- The Traitor Baru Cormorant by Seth Dickinson
-
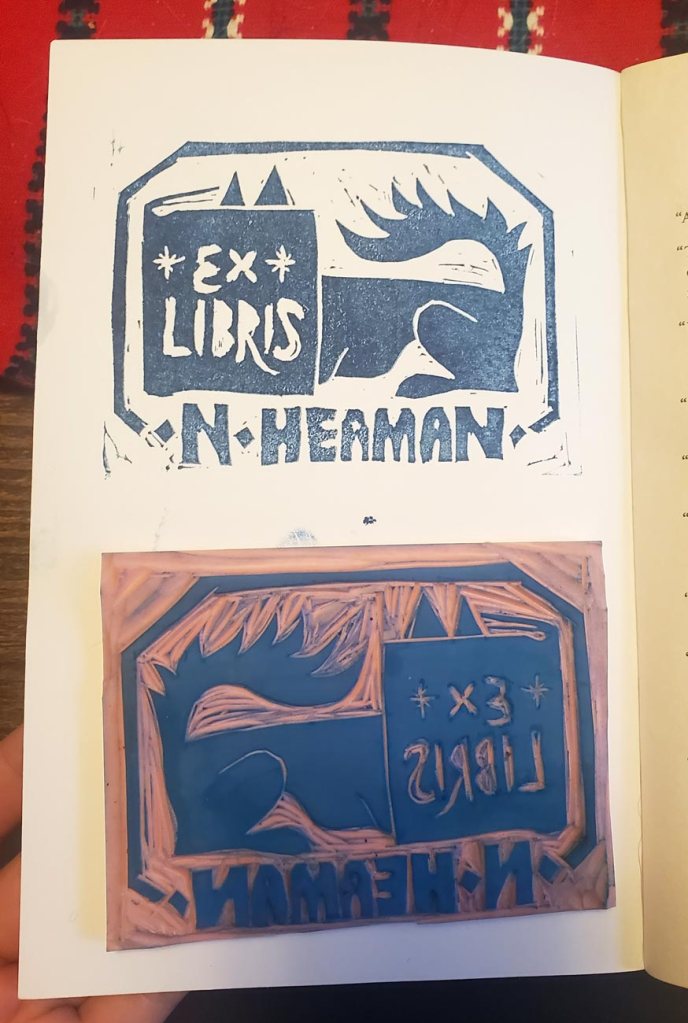
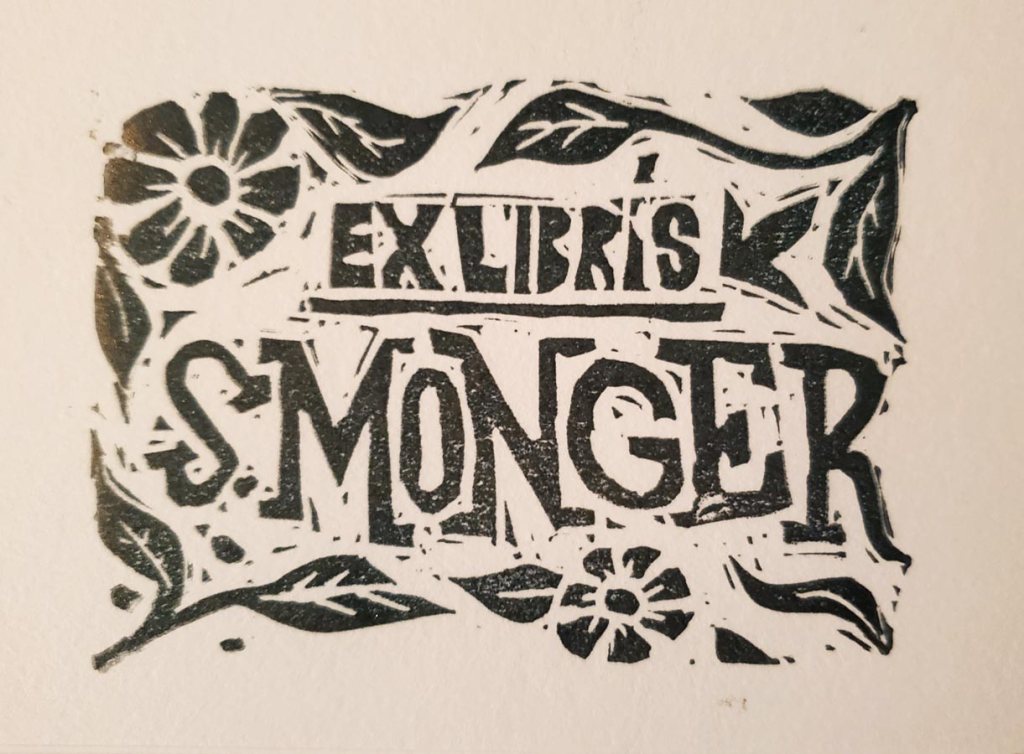
Ex Libris: Lino Bookplates
Something fun I made for myself and as gifts: lino block bookplates! This was my first time doing lino printing and it was pretty fun. I was worried that trying to carve type was going to be way out of my depth, but for the most part I really like how these turned out.
Not pictured: one of these I got pretty far along before I realized I forgot to mirror the letters and I had to start over 😦 – AND that happened on the third one.


Tags:
-
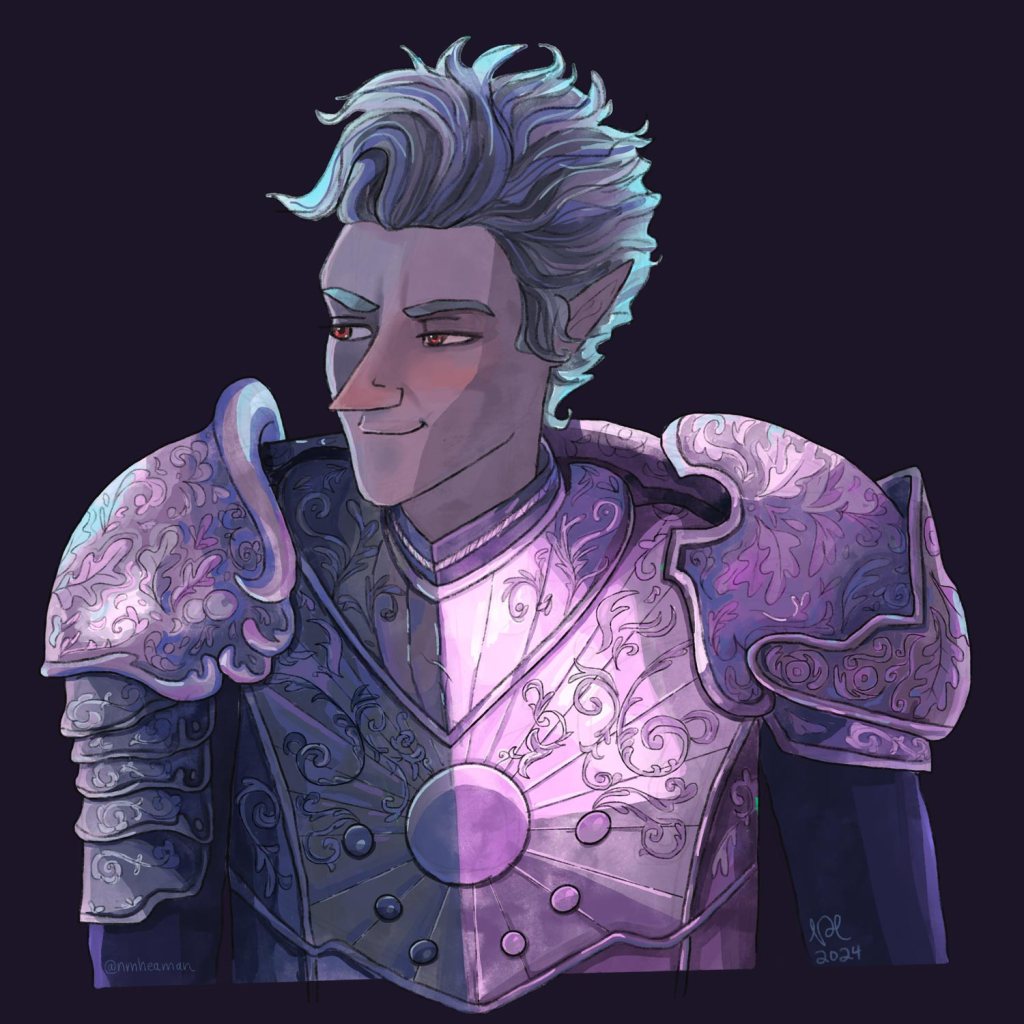
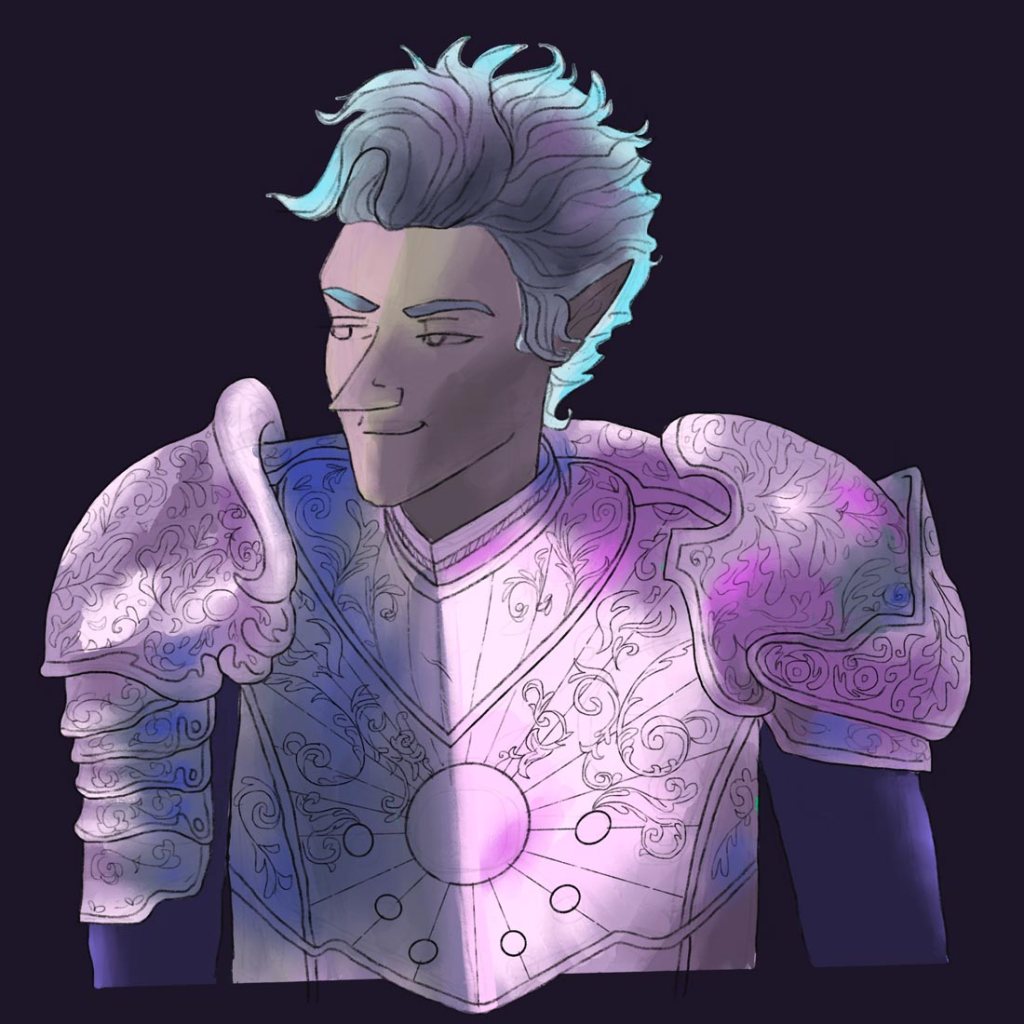
Astarion
aaand another armour study, this time Astarion! Second pic is the underpainting, which I smudge then paint over on a layer above it.
Tags:
-
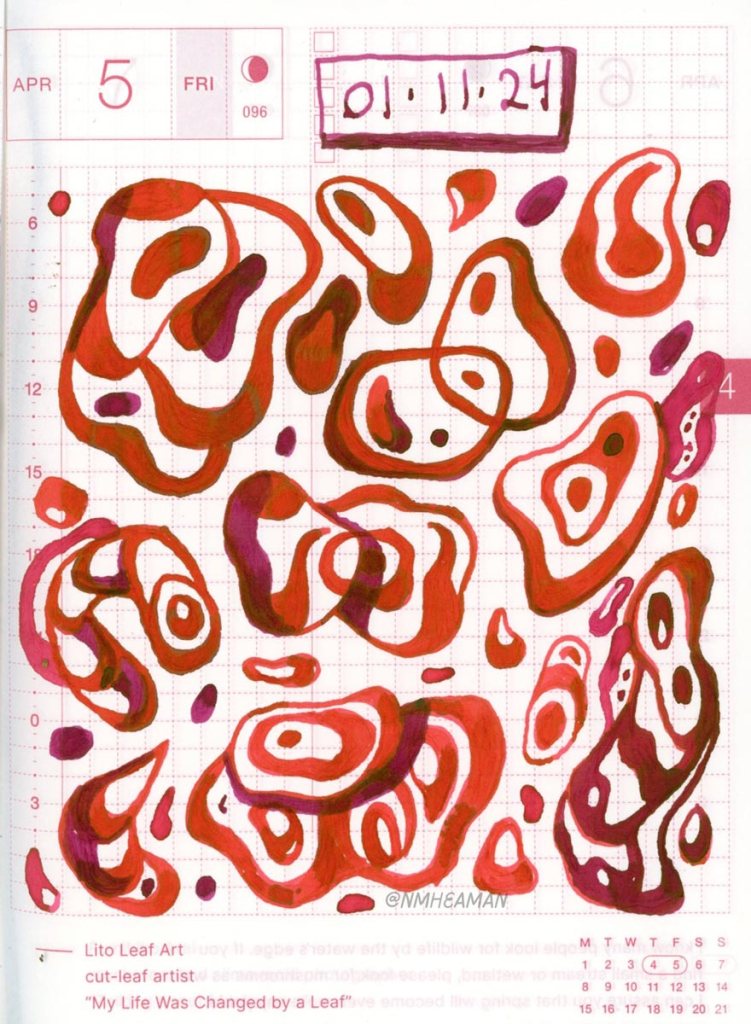
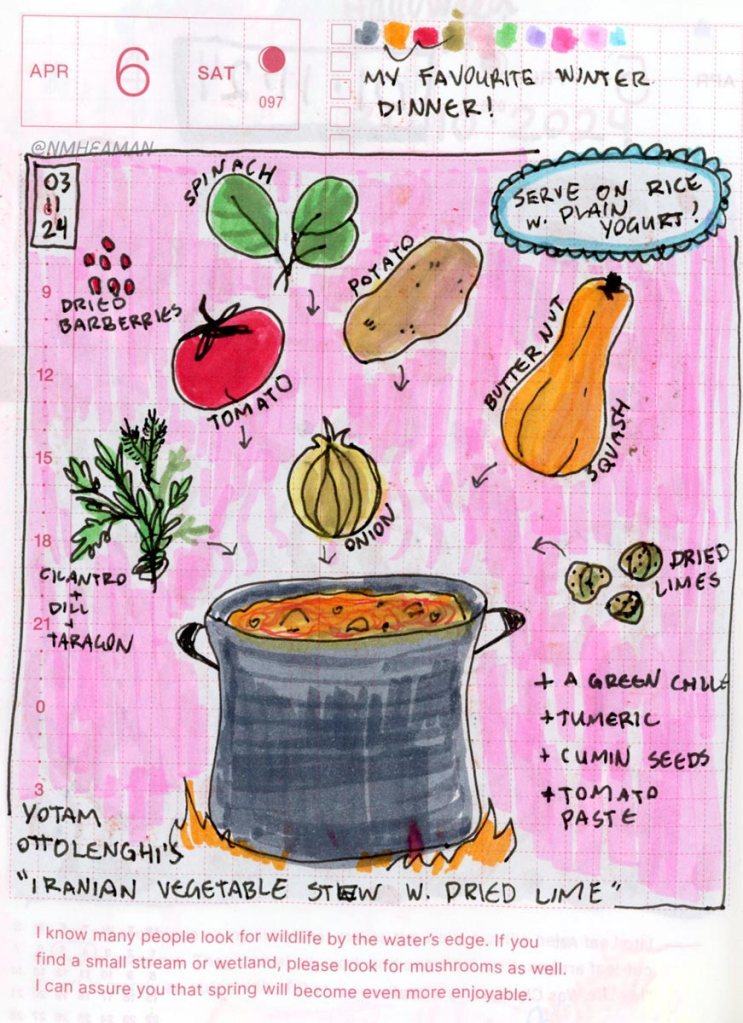
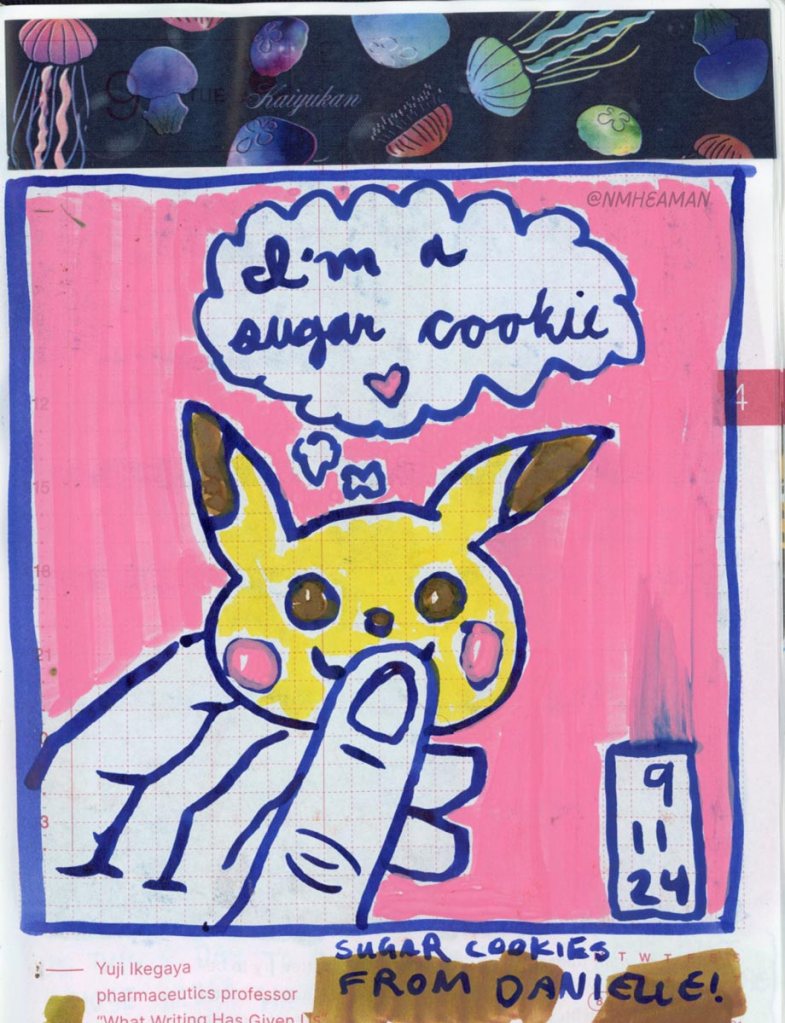
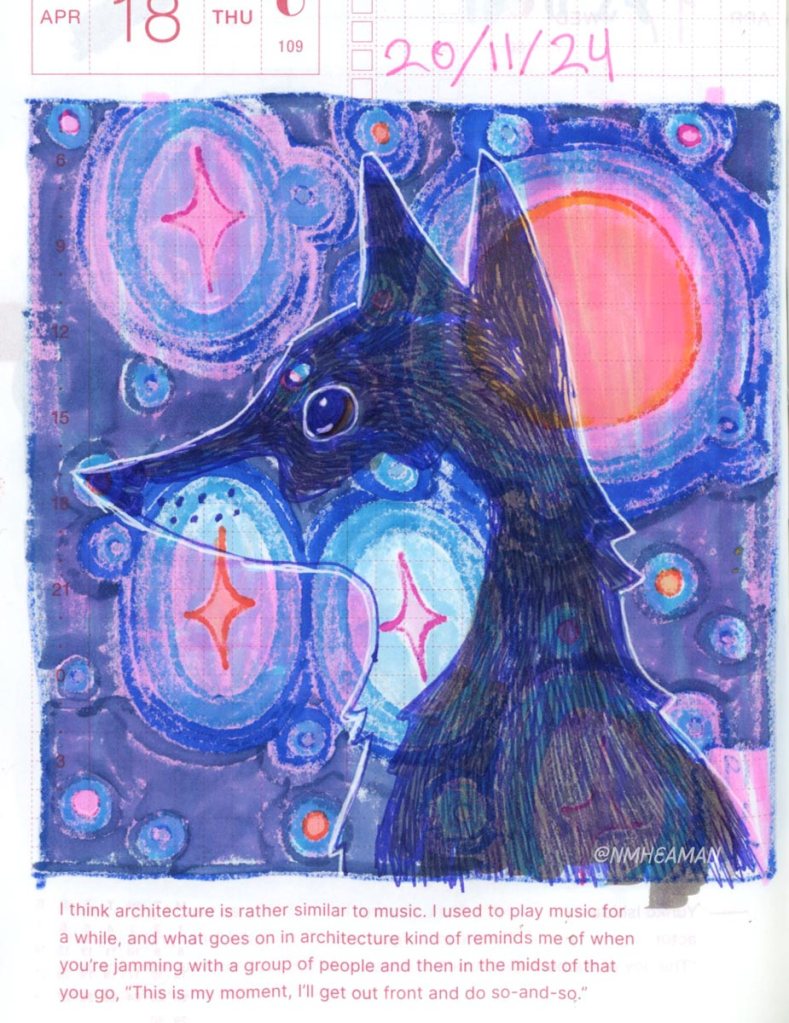
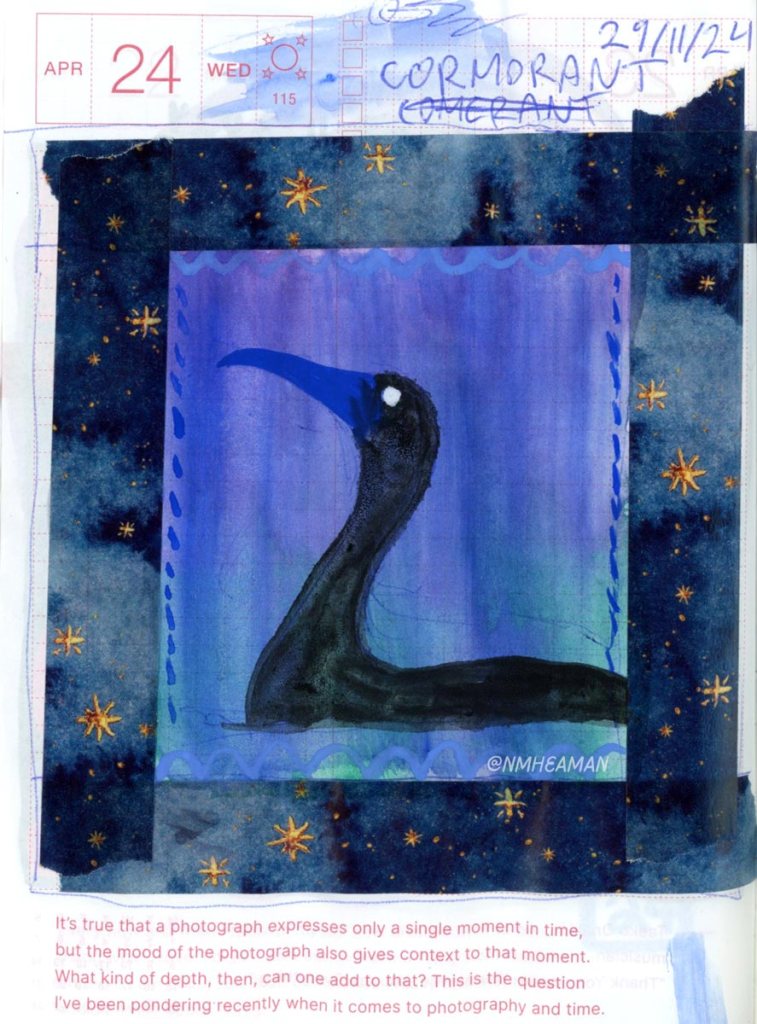
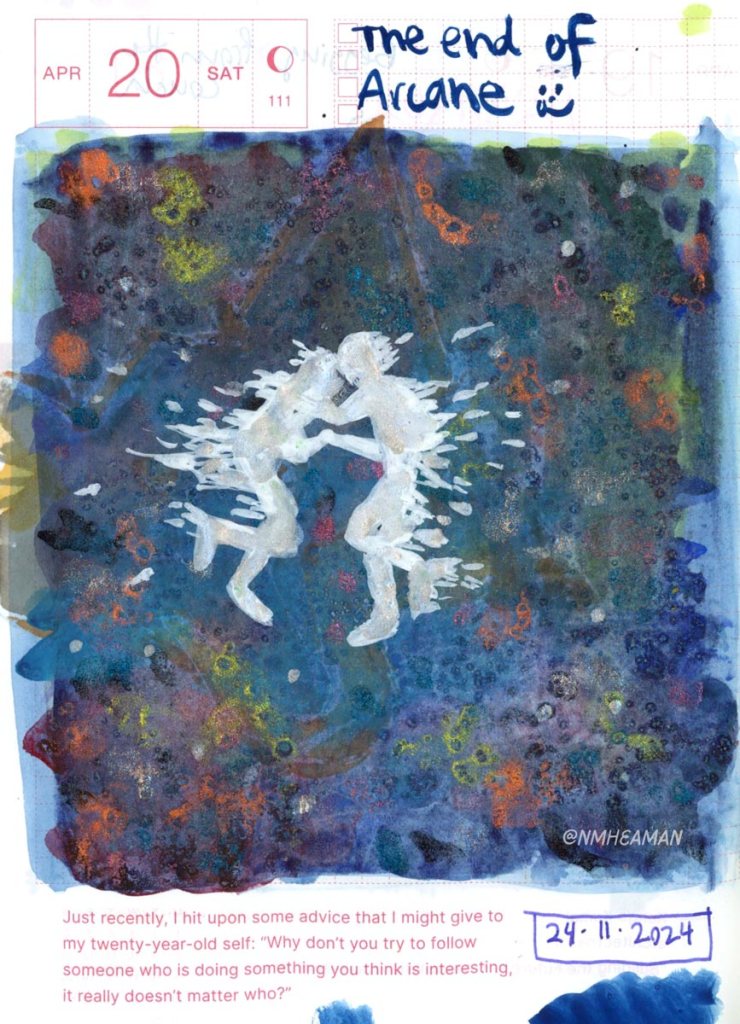
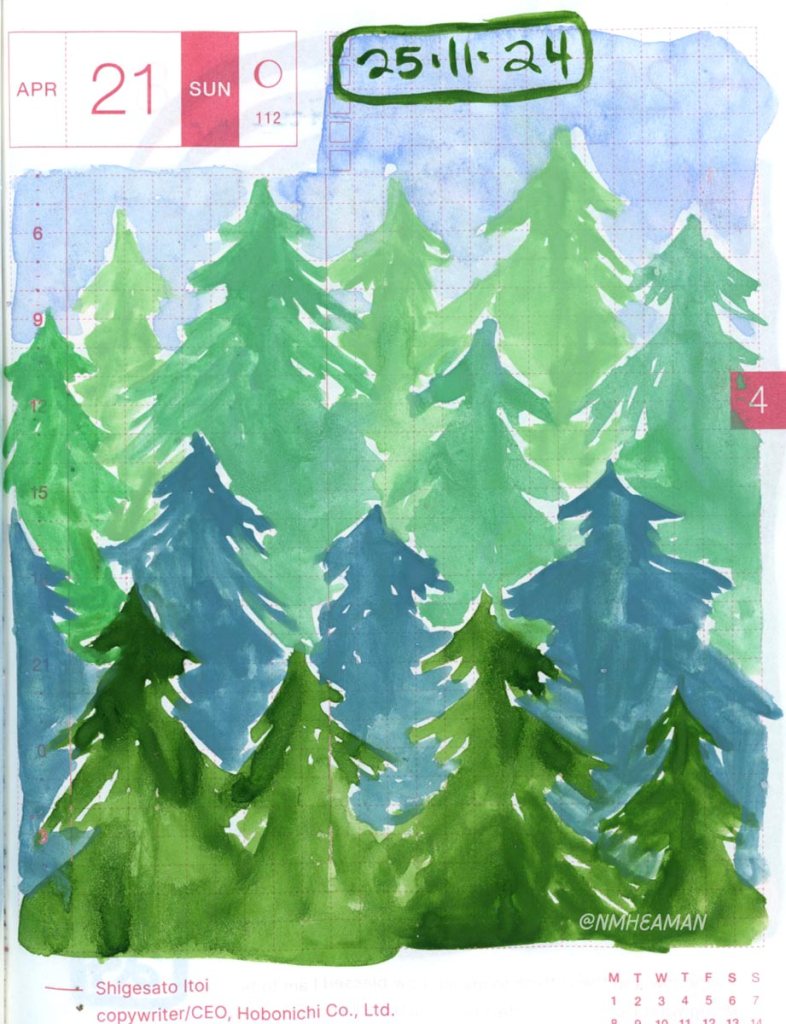
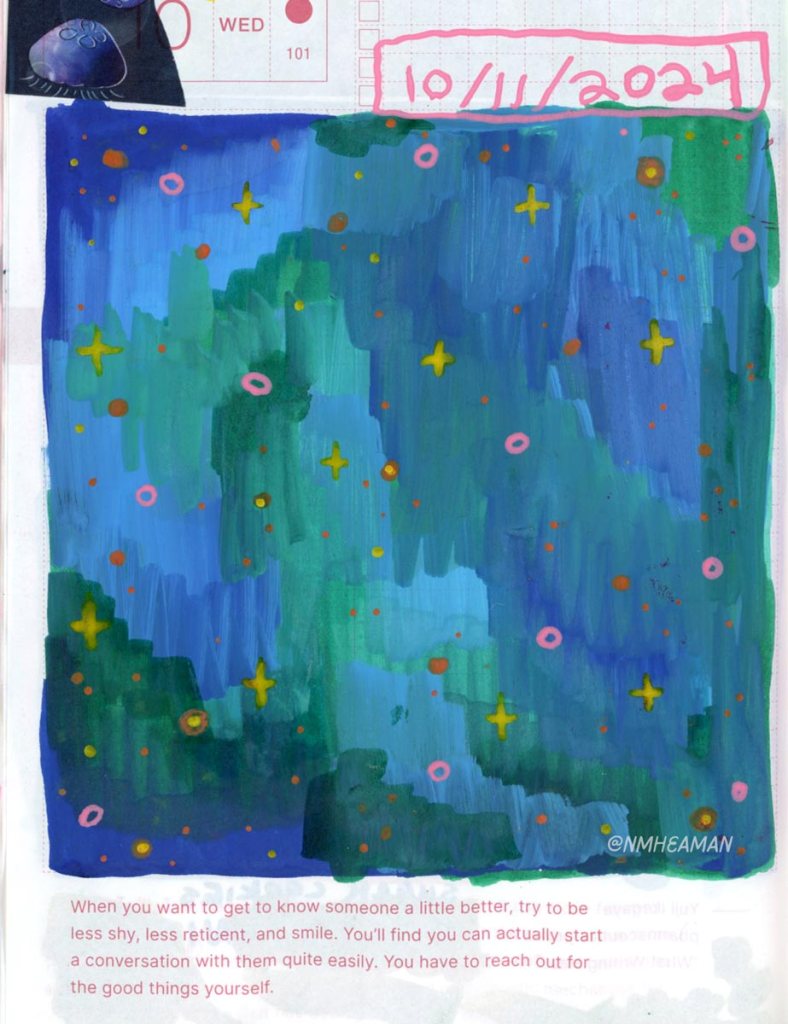
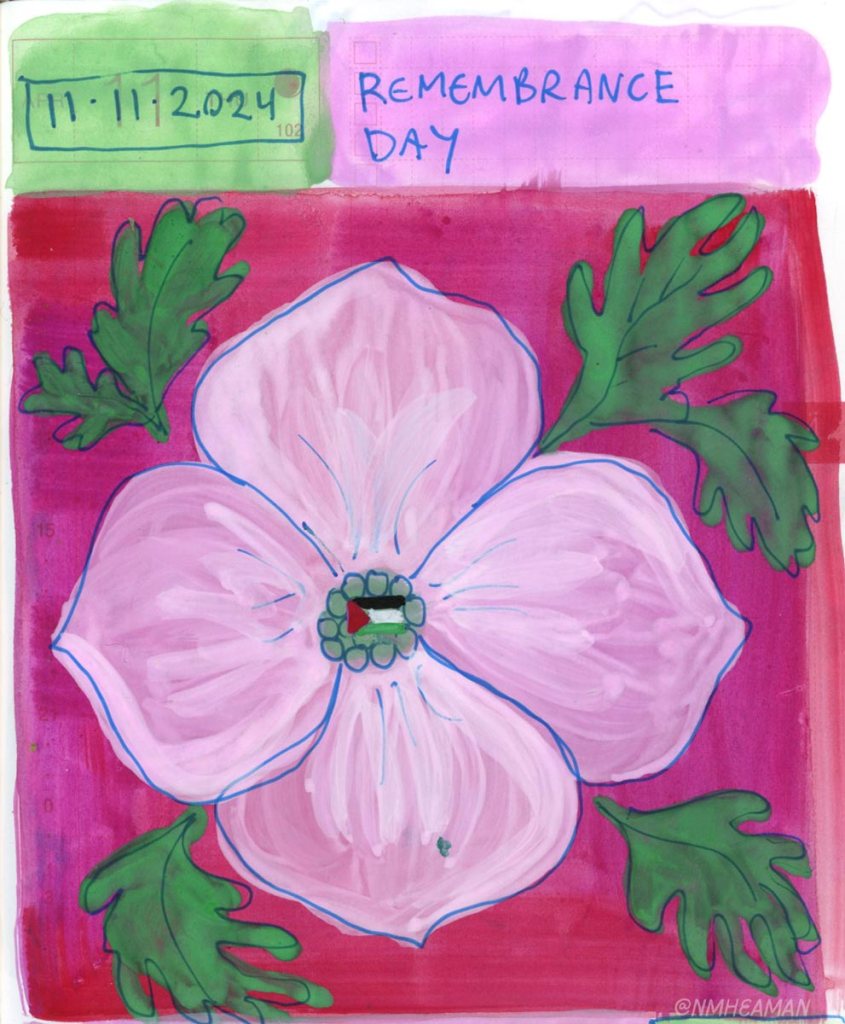
November 2024 Hobonichi
Top nine from the November:
Tags:
-
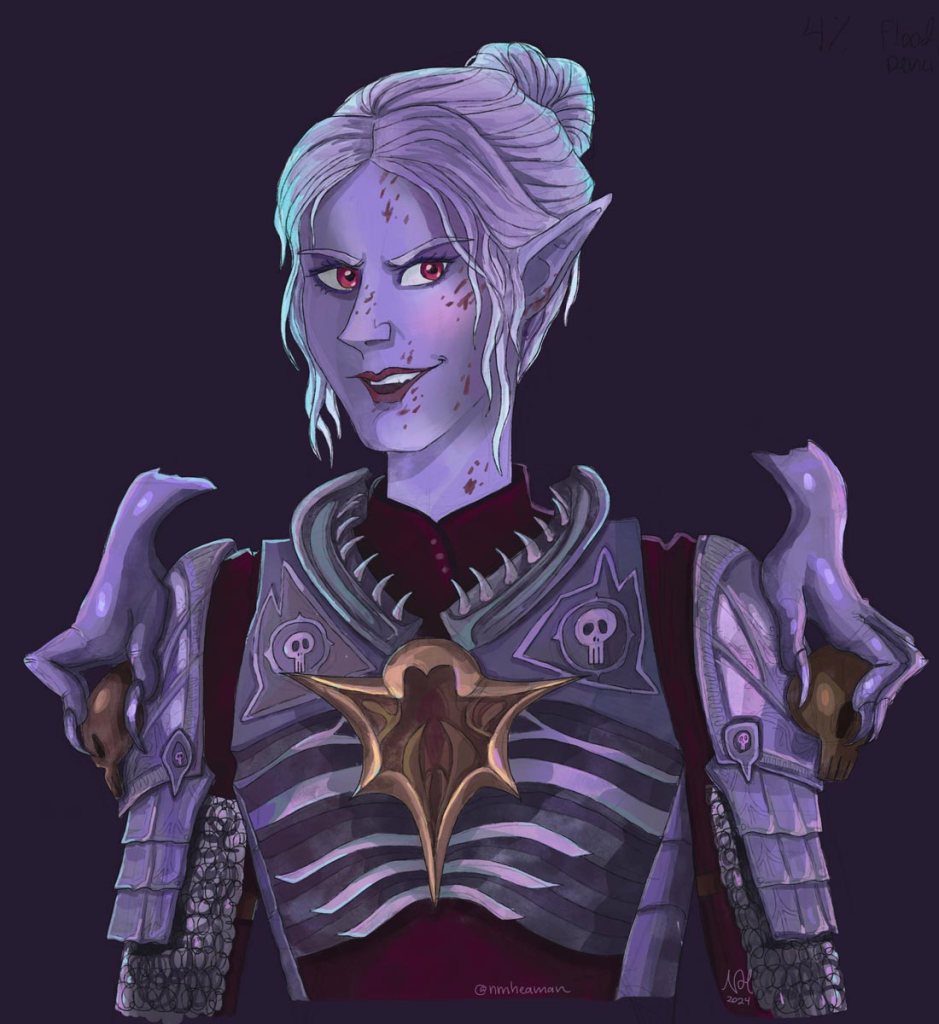
Minthara (again)
Another armour study. Another colouring study. This was very informed by the Lae’zel piece I did, with the process mostly being a repeat: blended underpainting, with layers using a watercolour brush to render on top. One difference: in this I used a pencil brush for the lines, making them much softer, and did not colour them in. (Using the pencil brush for final lines was inspired by the work of Ami Thompson)
Capturing lighting on armour is still a battle ⚔️
Tags:
Blog Index
PROJECTS / SERIES
Gouache Creatures Series, 2019
Somerset Series, 2021
Thrift Store Catch & Release
Beautiful Day Records
SHARED SUBJECTS
Dungeons & Dragons
Figure / Life Drawing
Pet Portraits
Character Art
POST TAGS
35mm 2016 2018 2019 2020 2021 2022 2023 2024 2025 2026 affinity designer Ali Smith baldur's gate 3 ball point pen bg3 bird birds black paper Boo Bookbinding braiding sweetgrass brush pen Canon A-1 cat character art clouds conte creature D&D daily drawing challenge daily drawings digital digital art dog dogs drawing Dungeons and Dragons dusa eurydice faces fan art felt pen figure drawing figure studies film photography fish gel pens gesture drawing ginko gouache hades hobonichi hypnos illustration ink japanese red maple leopard lettering life drawing lino block multiple exposure national geographic drawing oil painting oils original character ox painted figurine painted sculpture painting panther pastel pencil crayon pencil sketches pet art pet portrait portraits posca posca pens pressed plants printmaking procreate quote roxxy scanned plants screenshot study sketchbook snake somerset Sparrow studies study sumi ink teabag book the year in books tree watercolour wolf Writing zine
